1. Login to your GitHub account or create one.
It’s irrelevant whether you’re using your personal email address or a student email address for your account. Just log in. Note however that the discount only applies to *one* account and cannot be repeated, so choose wisely.
2. Verify your student email address.
Note: If your GitHub account was created with a school email address, you can skip this step.
- Head over to the GitHub email settings and add your school email address.
- Then wait for the verification email and click the verification link.
3. Send a discount request to GitHub.
Head over to the Github Education page, click “Get Benefits” at the top right and fill out the form like this:
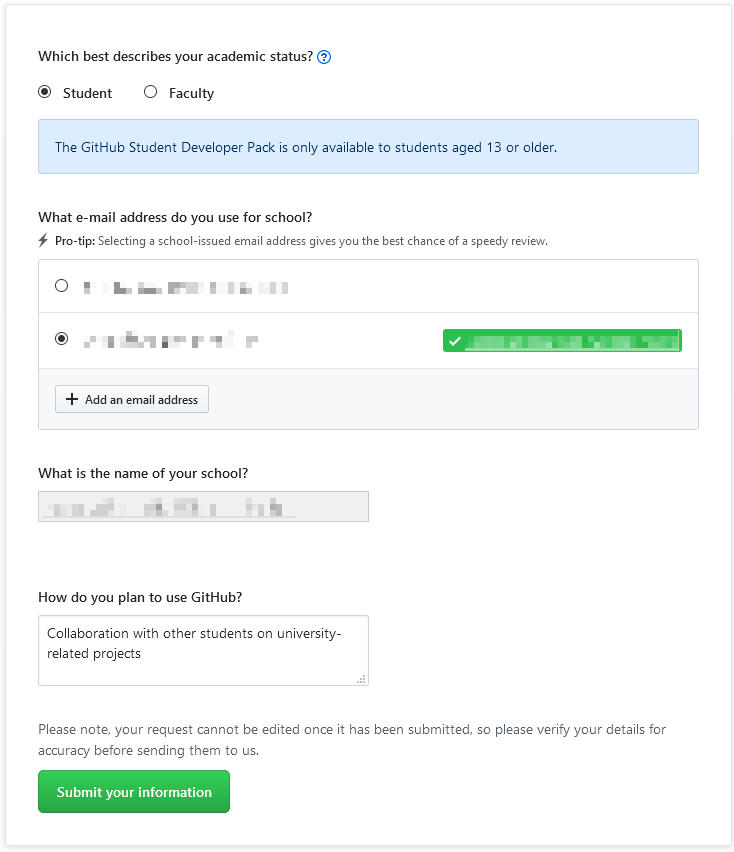
Make sure you select your verified email. Type a short text about how you plan to use GitHub, then send it off.
4. Wait.

Since you verified your student email, this step should take less than an hour (in my case it took half a minute). Once you’ve received the confirmation email, head to step 5.
5. Login to your Unity ID (or create one) and link it.
Head to the Unity Student website and click the blue button in the first box. Then, either create your Unity ID or log in.
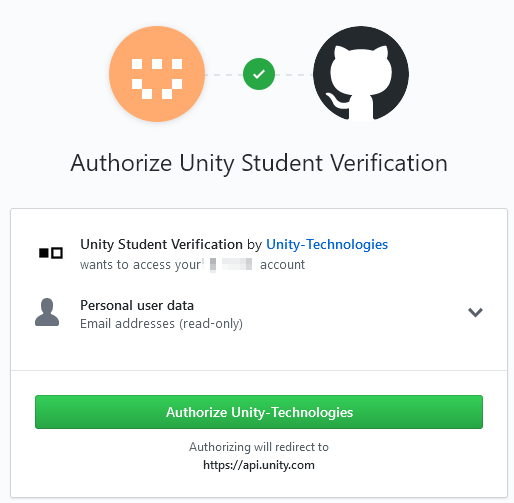
As soon as you have logged in or confirmed your email, you will be asked to authorize with GitHub. Make sure you log in with your confirmed student GitHub account.
6. Install Unity.
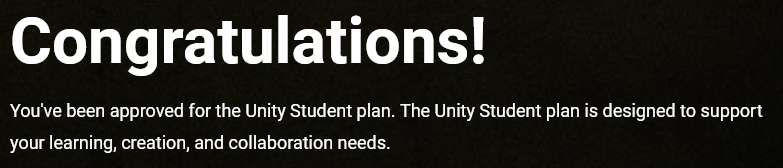
You will find instructions on how to use your new license on the confirmation page. If you close it too quickly, don’t worry, here it is. It’s not actually bound to a license, so you can access it freely.
7. Add a JetBrains student account
JetBrains offers IDEs. If you already have a student account, skip to the next step.
Go to the JetBrains Educational Licenses website, choose For students and teachers and then Apply now. Choose University Email Address.
Since the form was designed for US-American students, here are some hints:
- On Level of study:
- If you’re doing your Bachelor‘s degree, choose Undergraduate.
- If you’re doing your Master‘s degree, choose Graduate.
- On Graduation date, unless you know the exact date, it’s okay to approximate.
Then click on Apply for free products.
If you entered a valid university email address (you can check here by checking if your domain exists in the tree), you will be getting an email from JetBrains asking you to create an account to tie your license to.
Click on the link in the email, choose a username and password, and move on to the next step.
8. Install your IDE
To install your IDE, you will need the JetBrains Toolbox App. Download it here, install it and, most importantly, sign in. That’s the most important step because often times the program does not ask you for your account on installation. Click on the gear icon in the top right to log in if that happens.
Then, scroll down to Rider. Rider is a C# IDE with built-in Unity integration. I use it all the time for Unity development, and it’s a genius program that feels like it’s a part of Unity.
Click Install, and wait until the installation is done.
9. It’s all coming together
After you’ve installed Unity in step 6, and Rider in step 8, it’s time to get the gears going.
First, start Unity and create a new project (or open an existing one). This is an easy step, and choosing which project type to choose is not part of this tutorial. Do keep in mind which folder you saved your Unity project to.
Then, when Unity has fully started (given, this can take a hot minute), open Rider either by choosing it from the start menu or by opening the JetBrains Toolbox and clicking on Rider. If it’s your first time opening it, it will ask you a few questions. Most are your personal preferences, but I would advise you to choose the JetBrains keymap (which includes Shift+F6 to rename) to comply with all other JetBrains IDEs.
Click on Open Solution or Project, navigate to your Unity project and open <project name>.sln. This will open your Unity project in Rider, along with your scripts, sprites, models, and so on. A cool trick is that Rider will automatically recompile your scripts after you save them (Ctrl+S), so no need to do this manually. Also useful: If you hold Ctrl and then left-click on any function, variable, etc. – it will show you the definition.
Happy coding!